

PS利用滤镜把模糊图片变清晰
原图

图01
最终效果
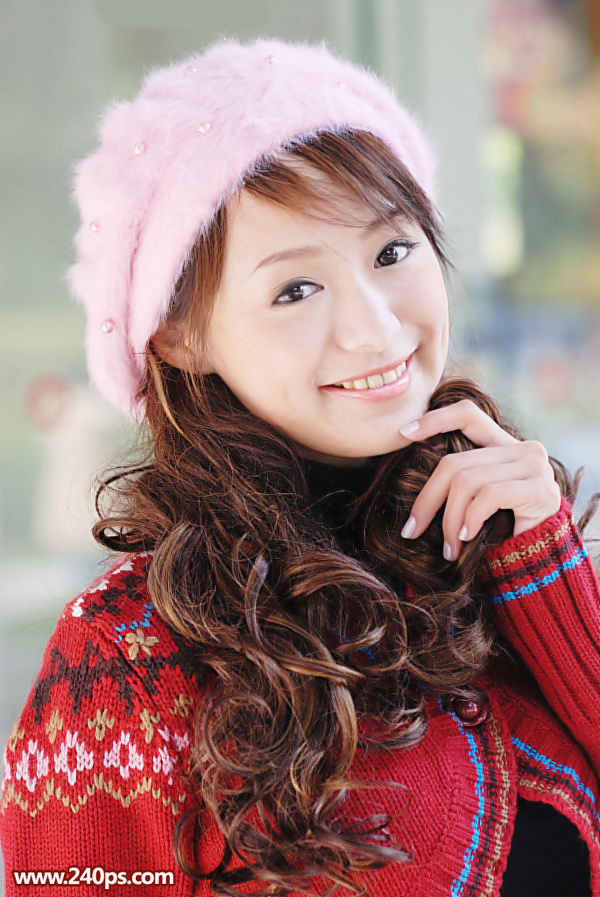
图02
1、打开素材图片,我们观察一下人物脸部区域,五官等都比较模糊。
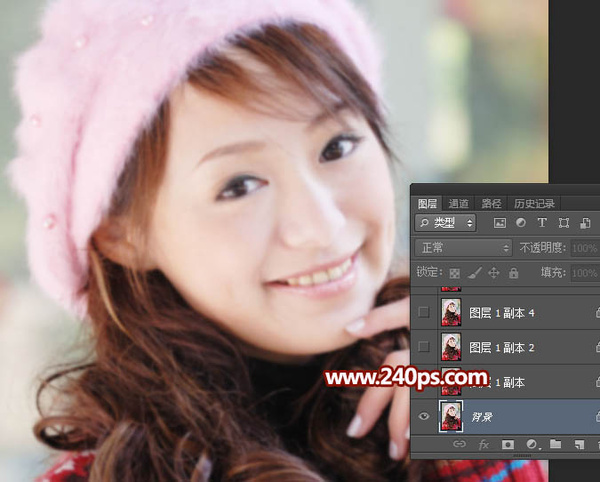
图03
2、按Ctrl + J 把背景图层复制一层,得到背景副本图层,如下图。
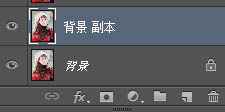
图04
3、选择菜单:滤镜 > 模糊 > 高斯模糊,半径为0.5,然后确定。这一步比较重要,可以减少杂色,后面锐化的时候就不容易出现杂色。
再选择菜单:滤镜 > 锐化 > USM锐化,如下图。

图05
设置参数,半径为0.5,数量为66,如下图。
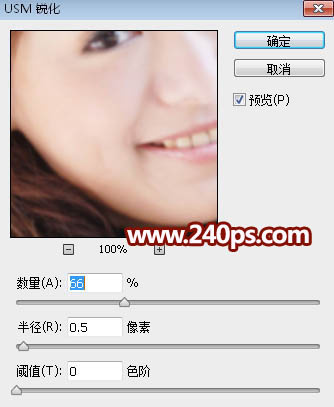
图06
_ueditor_page_break_tag_
确定后得到下图所示的效果,感觉没什么变化。
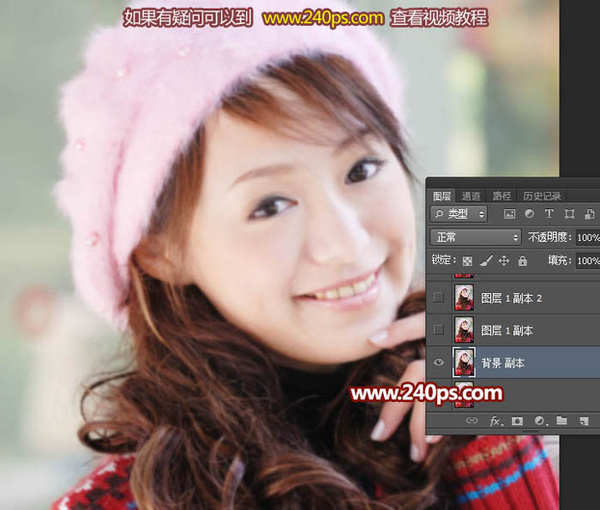
图07
4、按Ctrl + F键4次,执行同样的锐化四次,得到下图所示的效果,感觉图片变清晰了一点。
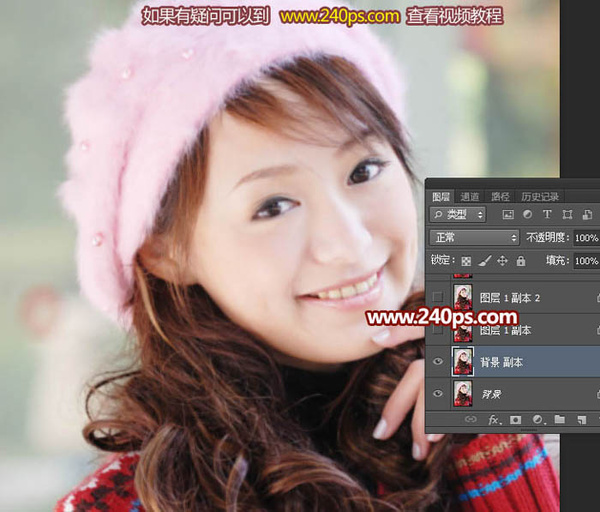
图08
5、再选择菜单:滤镜 > 其它 > 自定,数值默认,确定后得到下图所示的效果。感觉清晰了很多。
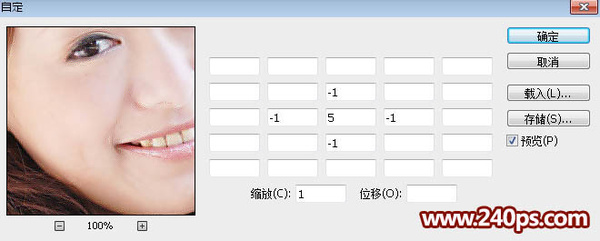
图09
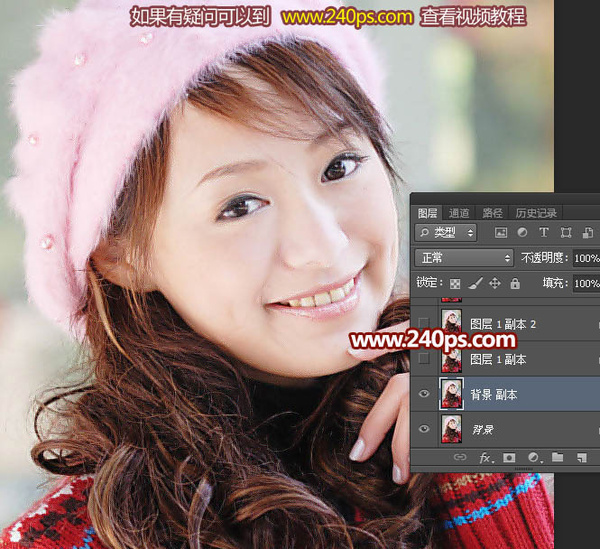
图10
6、选择放大镜工具把脸部放到一倍,五官及轮廓边缘部分有很多杂色,我们还需要慢慢处理。
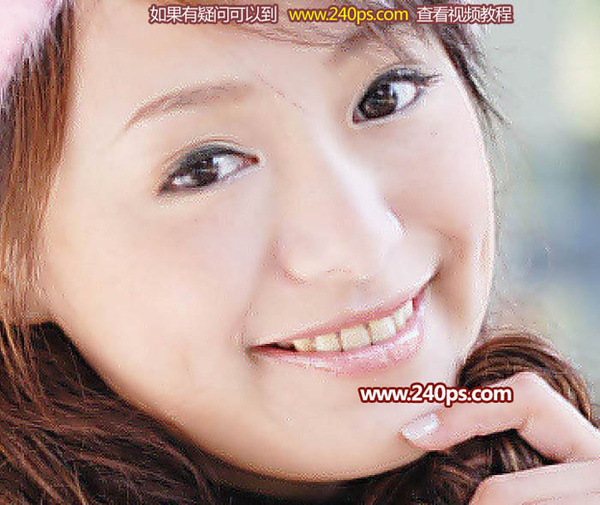
图11
7、上面几步的锐化处理,我们得到了比较清晰的轮廓,只是多了一些杂色。
选择钢笔工具,在属性栏选择“路径”,如下图。
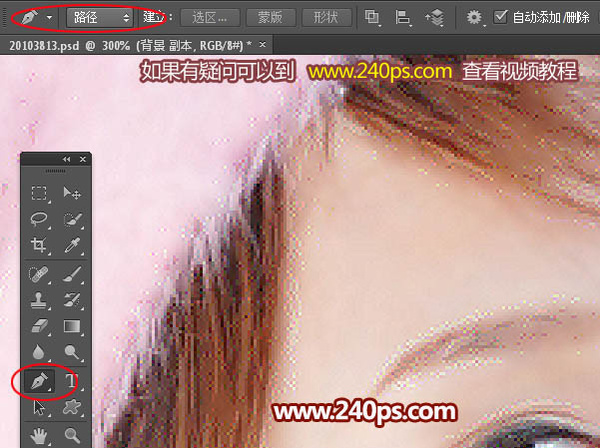
图12
8、我们先来处理左眼,在路径面板新建一个路径,用钢笔工具沿着上双眼皮的暗部勾出一个闭合路径,如下图。这里轮廓比较清晰,勾路径并不费力。
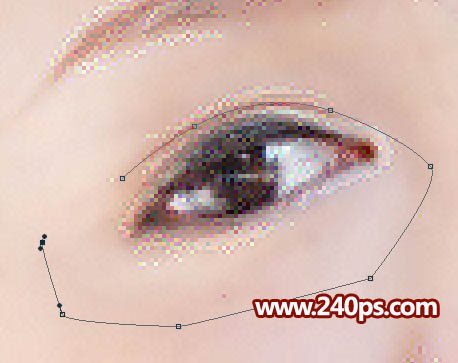
图13
_ueditor_page_break_tag_
9、按Ctrl + 回车把路径转为选区,如下图。
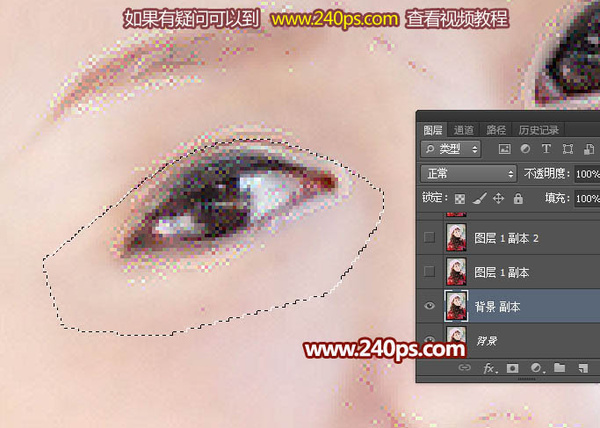
图14
10、在工具箱选择涂抹工具,在属性栏把模式设置为“正常”,强度20%左眼,笔头大小设置为8像素左右。
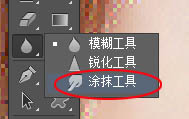
图15

图16
11、我们先沿着选区的顶部慢慢涂抹,涂抹的区域如下图红色区域,涂抹方法沿着选区左右慢慢涂抹。
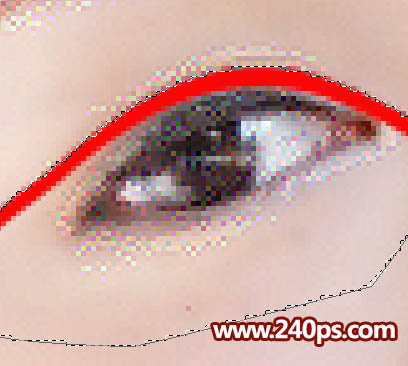
图17
12、这是涂抹后的效果,只涂抹选区边缘区域,其它区域暂时不用涂抹;涂好后不要取消选区。
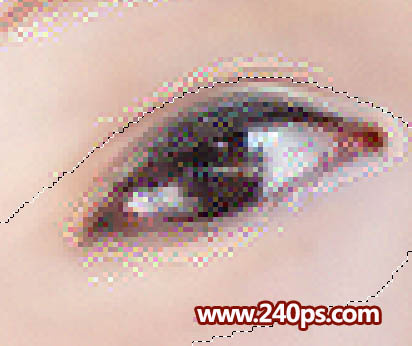
图18
13、按Ctrl + Shift + I 把选区反选,如下图。
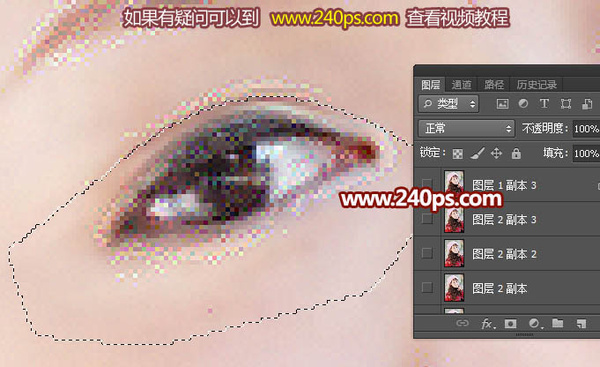
图19
14、用涂抹工具把选区上面的杂色涂抹干净,如下图。
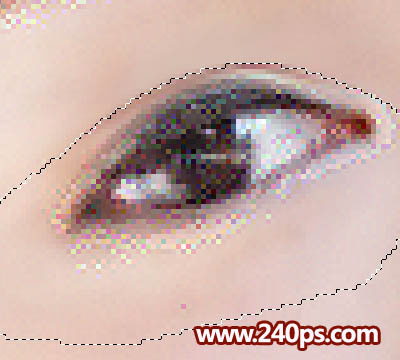
图20
15、按Ctrl + Shift + I 把选区反选,选择加深工具,在属性栏设置范围“中间调”,曝光度10%,如下图。

图21

图22
16、把双眼皮的暗部稍微涂暗一点,如下图。
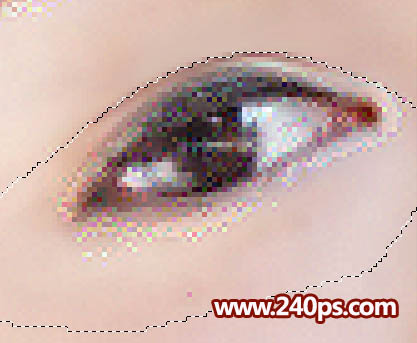
图23
17、取消选区后在路径面板新建一个路径,用钢笔勾出眼睛轮廓,如下图。
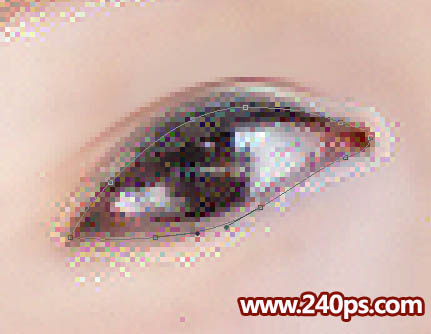
图24
_ueditor_page_break_tag_
18、按Ctrl + 回车转为选区,如下图。
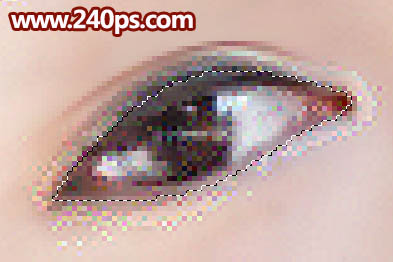
图25
19、选择涂抹工具把内部边缘涂抹干净,然后按Ctrl + Shift + I 反选,再用涂抹工具把外部边缘涂抹干净,如下图。
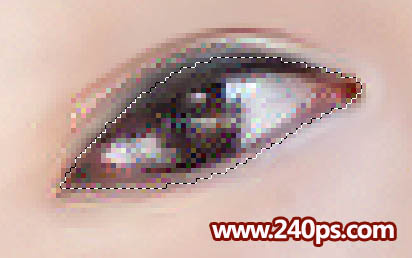
图26
20、这是大致涂好的效果,如果有时间可以涂得更干净。
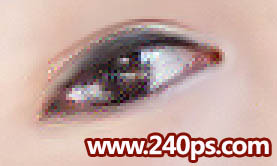
图27
21、左边眉毛也是同样的方法涂抹,效果如下图。

图28
22、右眼同样的方法处理,效果如下图。
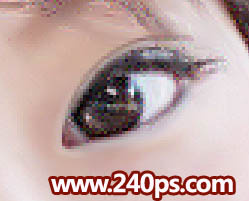
图29
23、鼻子和嘴巴处理好的效果如下图。
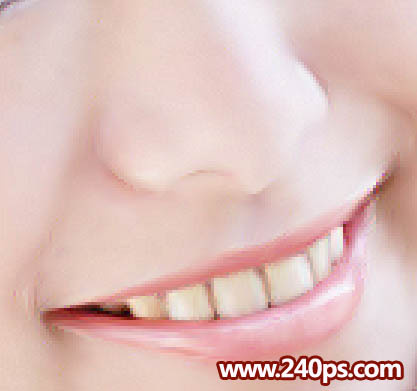
图30
24、脸部的轮廓也是同样的方法处理,效果如下图。
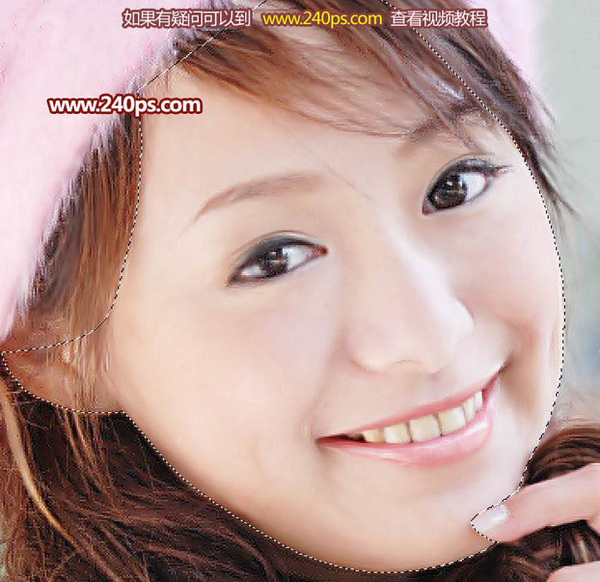
图31
_ueditor_page_break_tag_
25、手指部分也要处理一下。
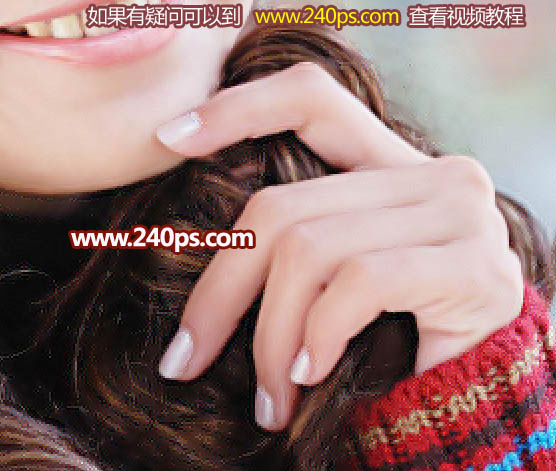
图32
26、来看一下脸部区域放大图,干净了很多,如果有时间可以慢慢细化。
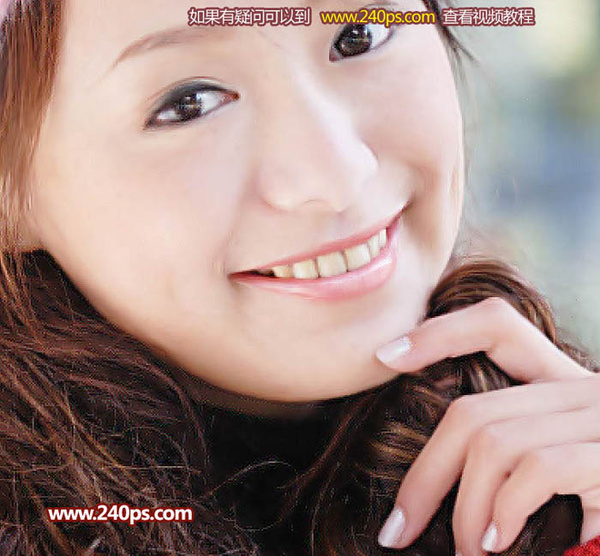
图33
27、选择减淡工具,曝光度设置为10%左右,如下图。
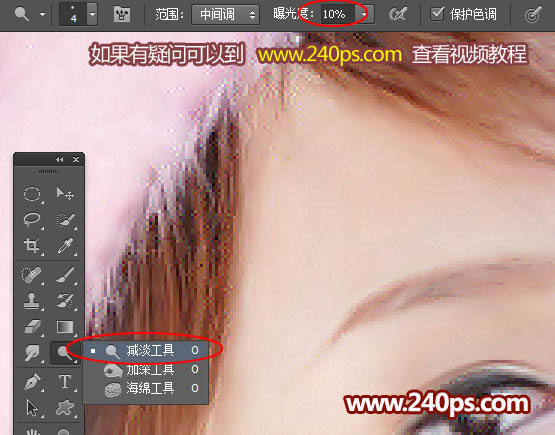
图34
28、把眼珠的高光,鼻子高光等涂亮一点,如下图。
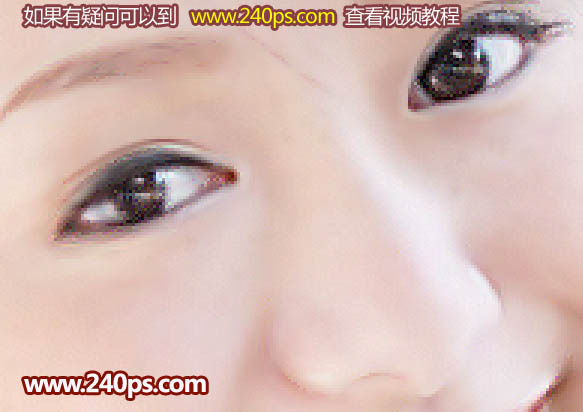
图35
最终效果:

图36