
具体操作方法如下:
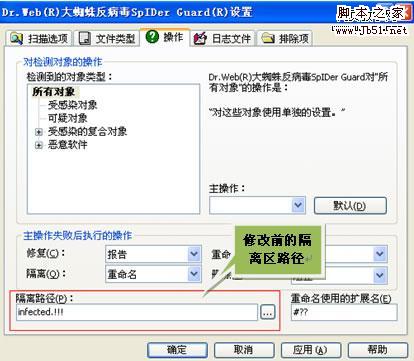
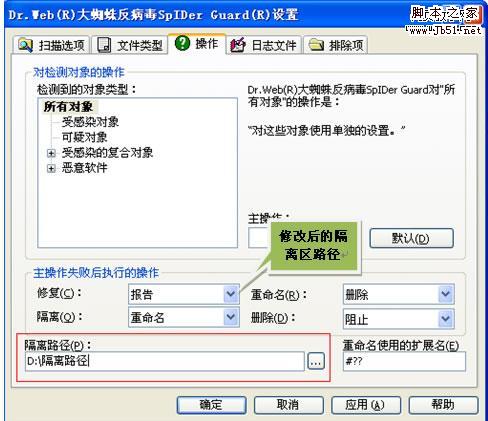
1. 监控的隔离区设置:右键点击监控图标,选择“设置”,选择“操作”,在“隔离路径”中设定自己的隔离区。我监控的隔离路径设定为D:隔离路径(文件夹)如下图:
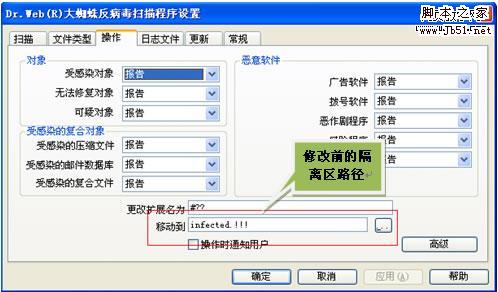
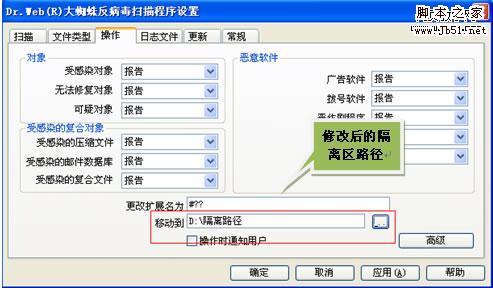
2. 扫描的隔离区设置:打开扫描程序选择“设置”,然后点击“操作”,在“移动到”中设定自己的隔离区。如下图:
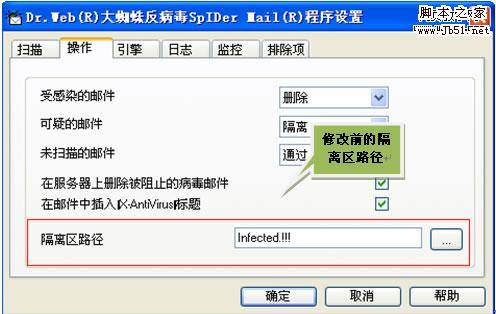
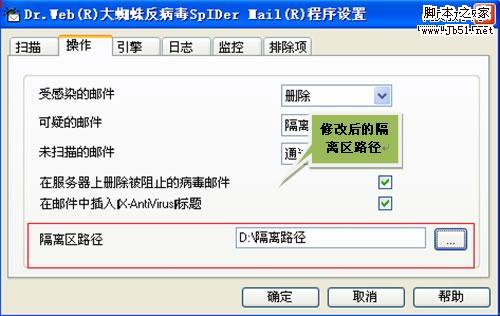
3. 反垃圾的隔离区设置:打开SpIDer Mail.然后我们选择操作,然后我们点击隔离区路径最右边的浏览按钮,就可以设定你自己的隔离区了。如图所示:
三种隔离路径的设置,方便我们管理被隔离的病毒,广告插件,邮件等,所以设置好自己的隔离路径,对我们管理计算机安全体系是非常方便的,Dr.Web的俄罗斯设计病毒管理办法,为我们的计算机安全提供了足够的保障。