

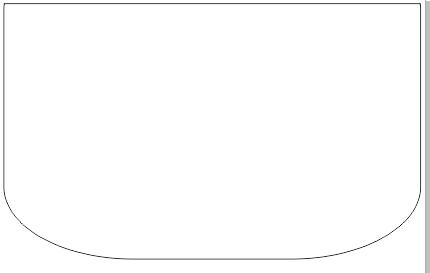
1、执行“文件”→“新建”命令(Ctrl+N)新建一个A4大小的横向空白文件。使用“矩形工具”绘制矩形,调整矩形底边两角圆角“转角半径”为80,然后按“Ctrl+Q”将其转换为曲线,调整节点位置,如图所示。
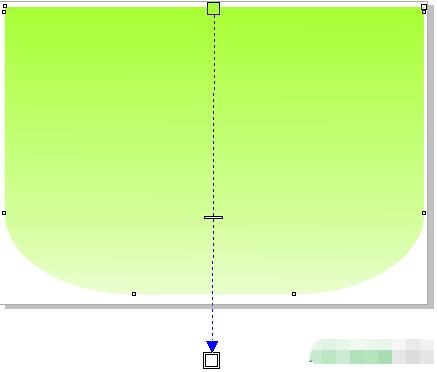
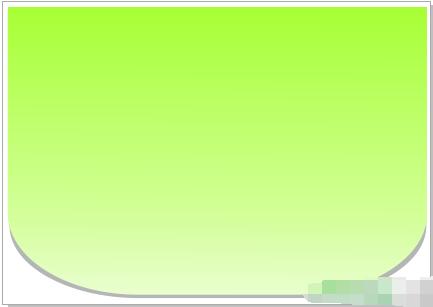
2、按快捷键打开“编辑填充”中的“渐变填充”,选择类型为“线性渐变”设置渐变颜色(C:45、M:0、Y:100、K:0)到白色的填充。并复制一层填充灰色向下移动,调整顺序,做投影效果,如图所示。
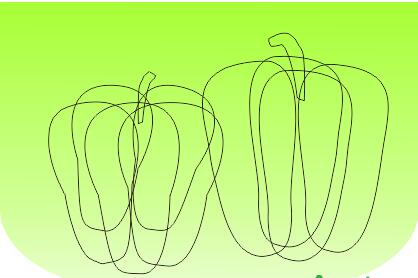
3、使用“贝塞尔填充”绘制辣椒雏形,并用“形状工具”进行节点调整,使辣椒形状更圆滑,在此过程中尽量避免使用“尖突节点”因为它所绘制的曲线会有锐角效果。
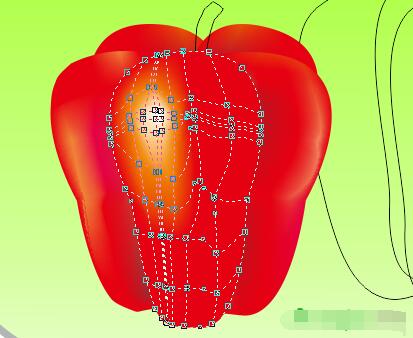
4、选择工具箱中的“网状填充”工具,为所勾造型填充颜色,注意颜色过渡要和谐,取同一色系或邻近颜色,注意高光和阴影的位置及变化。
5、用同样的方法将辣椒“蒂柄”填充颜色如图所示效果。

6、另外一个也是同样操作,只是过程有些复杂,需要耐心和一些色彩理论知识。
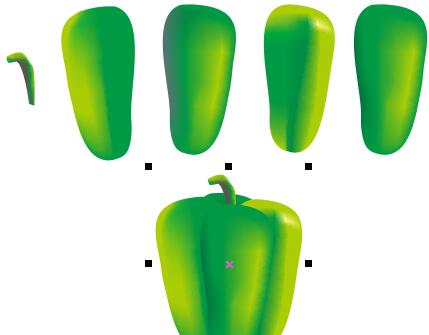
7、最终效果,是不是很写实呢。