
第一步是干什么,当然是开机了(教程够详细吧?)好了,后边不分步骤吧,大家边看图片边看说明吧!
电脑开机(教程以XP为例,WIN7的用户方法是一样的)。
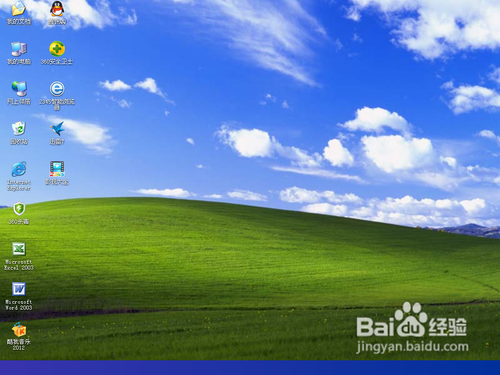
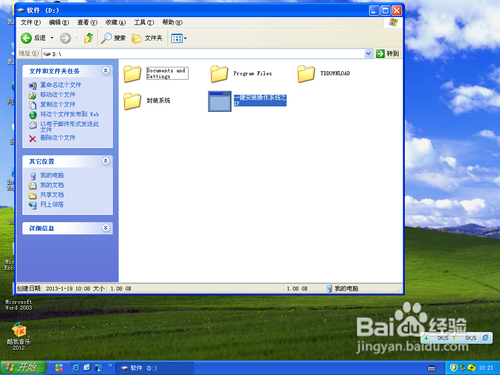
我用来演示的电脑桌面还算干净,你的肯定是乱的不行了!

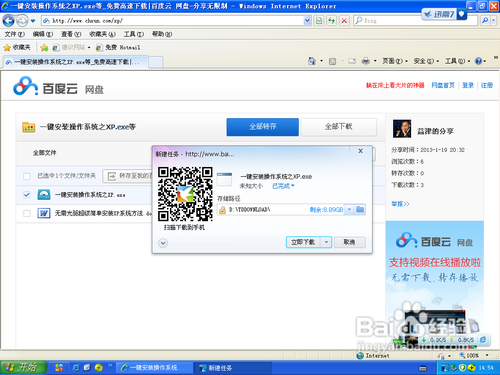
开机后下载今天的主角“一键安装操作系统之XP”,
打开后就是咱们非常熟悉的百度网盘。
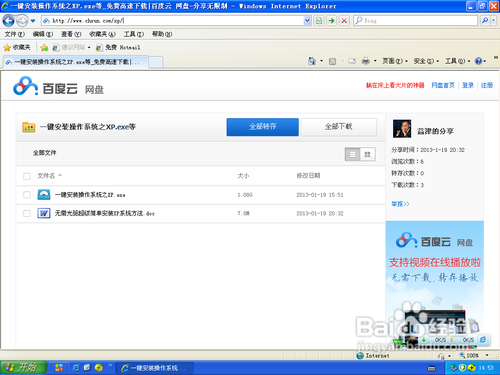
这里我推荐大家用迅雷等软件进行下载,这样速度快点! 如果电脑网速慢也可先在其它电脑上下载好再复制过来。
这个程序一共1G多一点,可能说到这里,有的朋友就要较真了,我在市面上买的系统盘怎么才600M左右,你的为什么是1G呀?这里我需要和大家解释一下,因为市面上的安装盘一般都没有补丁的,回来联网后还要自已打补丁,为了方便大家我把补丁打到了2013年1月18日晚,所以安装完成后系统基本上就不用打补丁了!而且本系统我还集成安装了OFFICE2003办公软件+OFFICE2007兼容包、QQ2013最新版、酷我音乐盒、迅雷、360安全卫士、360杀毒,可以说系统安装完以后如果你没有特殊要求就可以直接使用了!
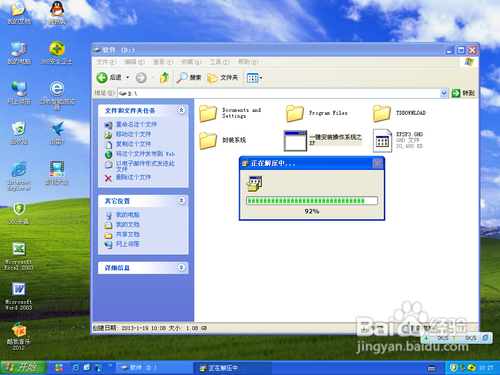
下载完成后直接双击打开,这时软件开始解压这个过程有点慢,耐心等待!
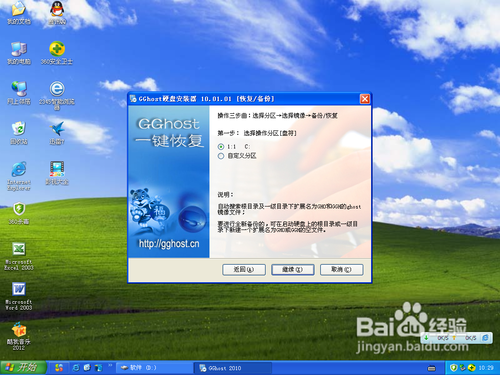
解压完成后不要动,大约等上一分钟左右,会出现如下画面,选择等一项“硬盘的根目录或一级目录下”点“继续”。

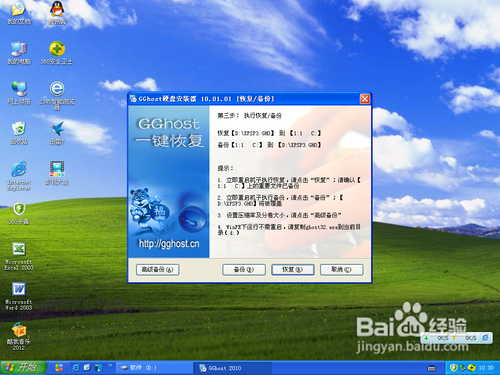
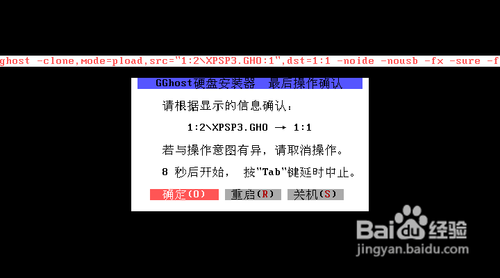
第一步:按默认就可以“1:1 C:” 然后点击“继续”!
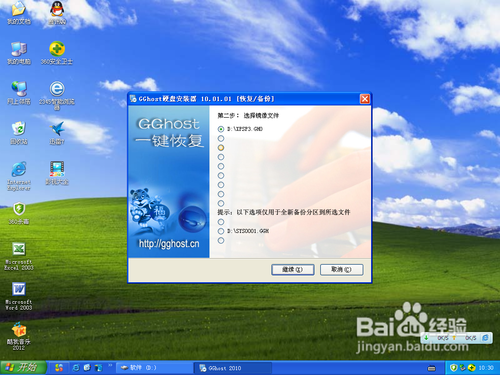
第二步:选“D:XPSP3.GHO”,然后点“继续”!
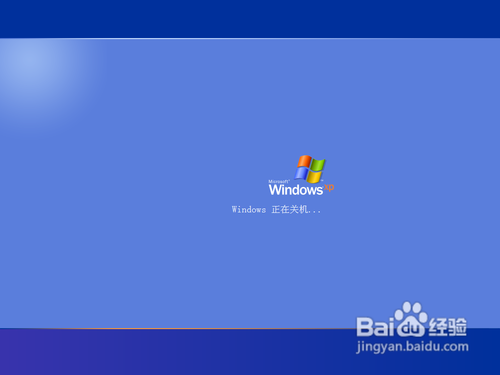
第三步:这里点“恢复”,点完后系统会关机、重启!
点完“恢复”后系统会马上重新启动。

系统在重新启动后不用管,系统会自动选择下边的一项进行下一步!
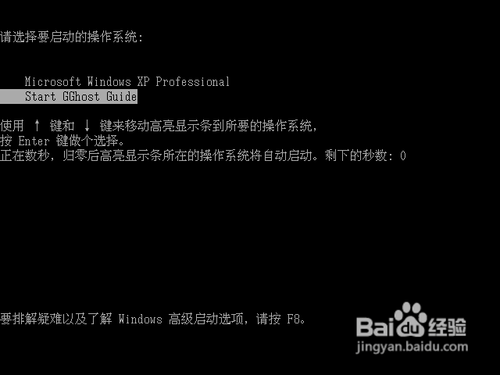
这一步默认就可以,直接敲“回车”!
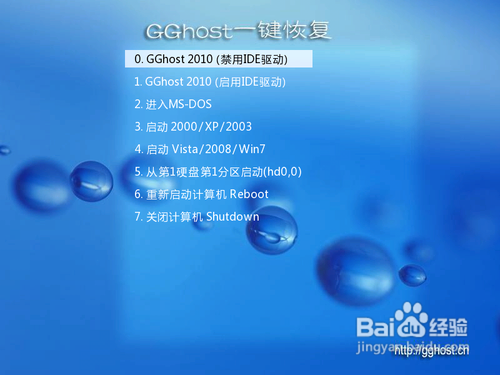
这一步直接“确定”就OK,或是不管,10秒后电脑自动开始!
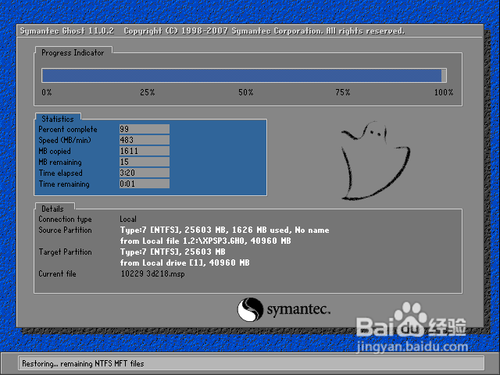
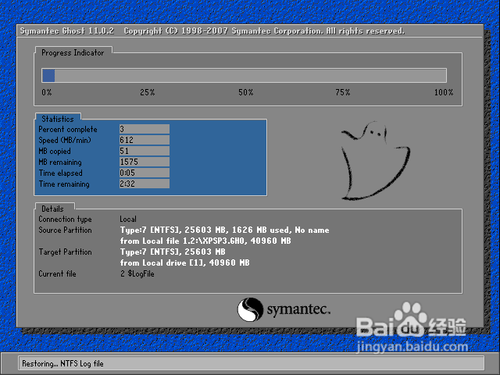
现在开始把系统文件复制到C盘,这一步时间稍长一点。但不用你做任何操作,进度条走到100%时,电脑会自动重新启动!

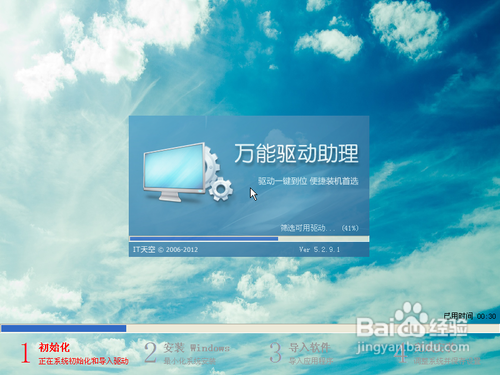
电脑重新启动后首先会检测硬件配置,然后为您自动安装硬件所需要的驱动程序!

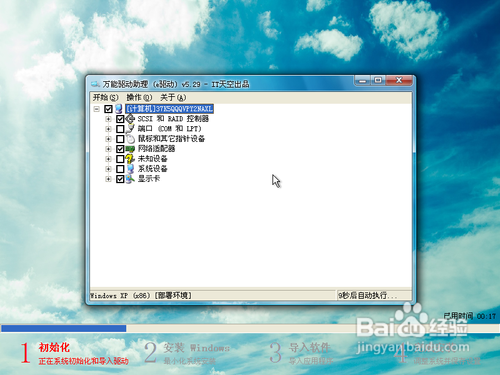
然后系统会把提前封装好的压缩包进行打包,一共两个压缩包!

接下来系统进行自动的配置,过程很快!


最后的配置完成后,安装工作就完成了,这时系统会再次自动重启!

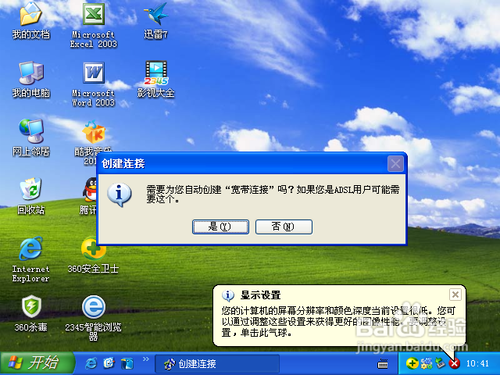
重统重新启动后,就会出现一个选择上网方式的对话框,这里要说明的是:如果您是拔号上网的用户。就选择“是”。算了,还是通俗点吧,如果您是每一次开机都要点一下“ADSL拔号连接”的用户,你就点一下“是”。如果您是连“路由器”上网的用户这时您就点一下“否”。
选择完“上网方式”后,电脑会弹出如下画面,这是为了让用户看检查一下自已的硬件驱动安装情况,不用管它,直接关掉就好了。

关掉刚才的窗口后,会出现“分辨率”调整窗口,这一步也不用用户操作,10秒后软件会帮助用户检测硬件自动设置屏幕“分辨率”等显示信息。
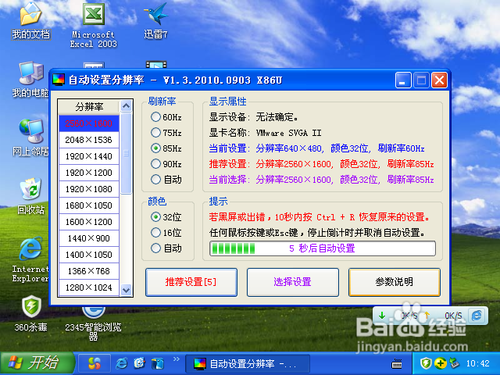
“分辨率”设置是最后一步,调整完“分辨率”我们的系统重装工作就完成了。